
My Top 5 Tools for Making Your Mark
I was surprised to find that the Oxford online dictionary defines “mark” as a blemish, streak, spot, blotch, smut, smirch, and a host of other negatively connotated words. The verb “to mark” is equally dire with synonyms such as to damage, discolor, deface or disfigure.
What a confusingly negative slant on the word found in the saying “make your mark” which is defined as leaving a positive impression, a meaningful imprint or change on the world.
To make your mark might mean to sign your name, reminiscent of the imprinting of a signet ring as verification of your authority over a pronouncement. Your mark is the symbol of the authenticity of a piece of work. Your mark left in wet cement, in the bark of a tree, in a public washroom is evidence that you were here, an assertion of the legitimacy of your presence.

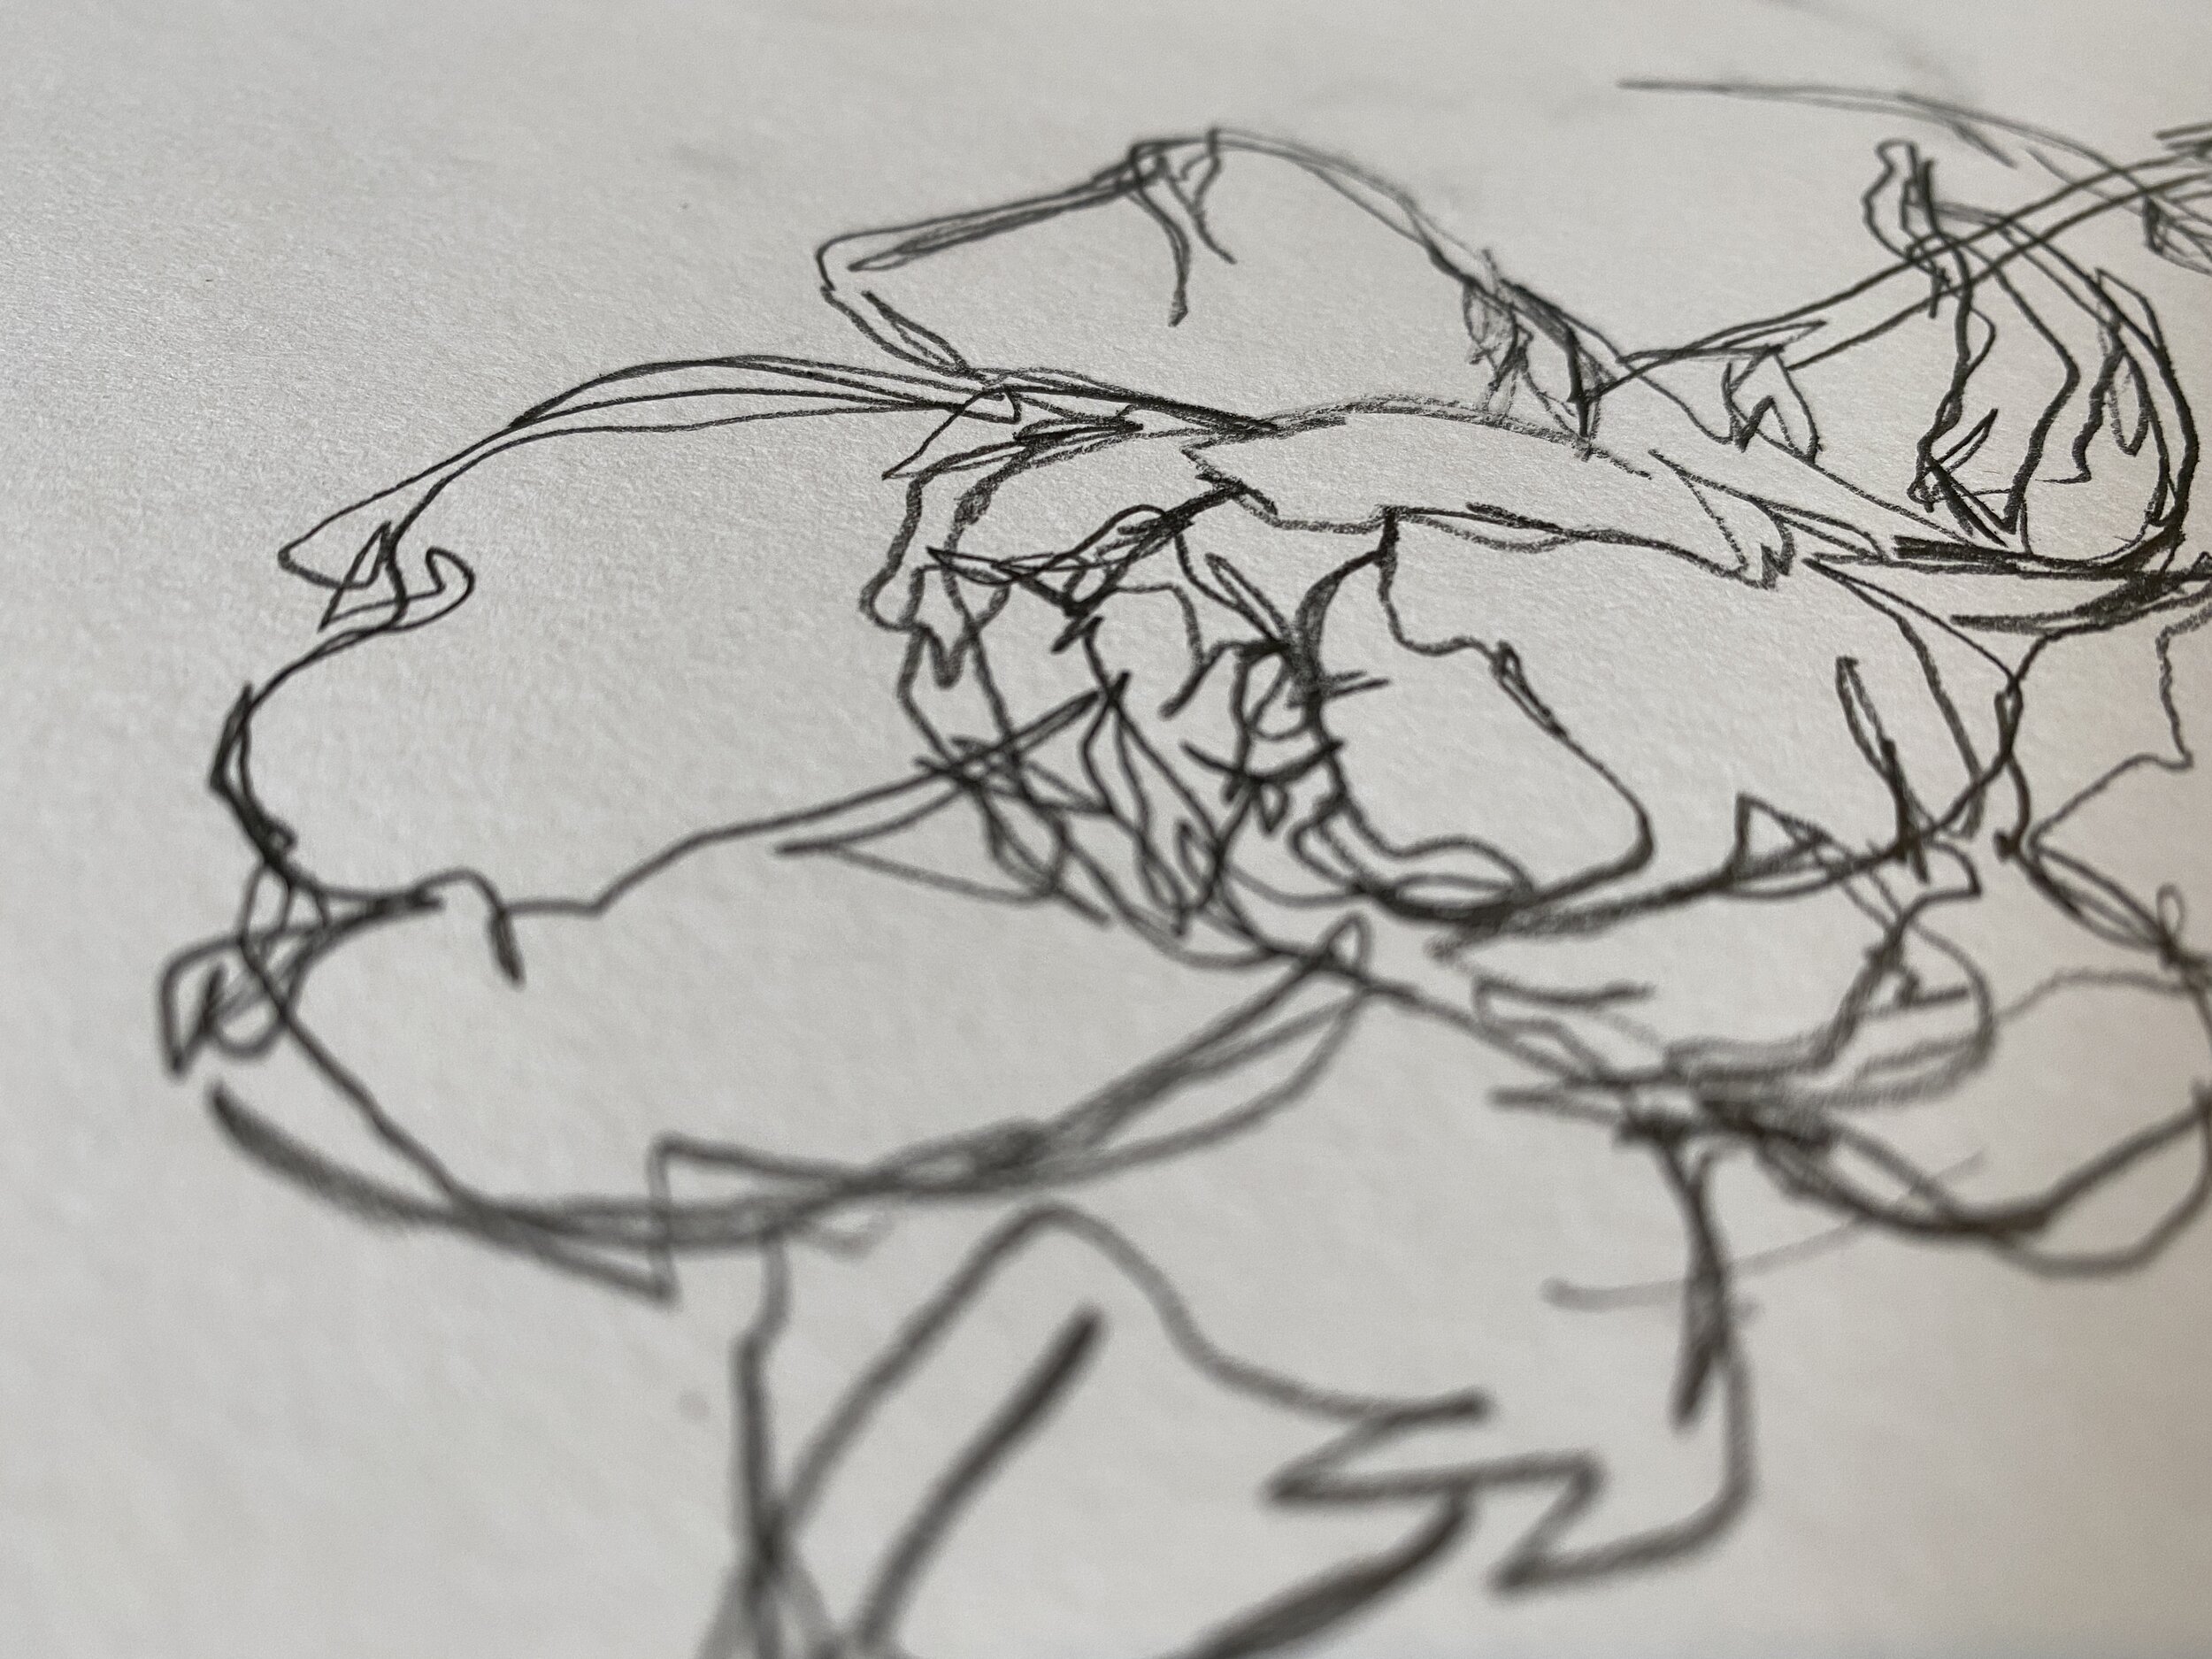
Close up of a mixed media work using all the tools described at the end of this post.
Artists often talk about mark making. When we do, we mean that we are learning and practicing the kind of imprint we can leave on a page. It’s an intentional act to leave a mark which can have a wide range of meaning.
Sometimes a mark is intended to blot, smear, bruise or scrape such as when we make art in response to tragedy or pain. But the mark left from a sensitive touch versus a powerful stroke each have the intention of a specific communication.
An artist’s pencil or brush strokes are distinctive and can be used to identify the individual. Many can recognize a van Gogh by his particular gestural waves of paint for example. Forgeries are discovered through analysis of brushstrokes.
A quick gestural line drawing of a flower made with mechanical pencil.
There are infinite ways to make a mark. And there is a positive quality that comes with marks that are made with confidence, as are the marks made by artists practiced over time. One artist might have light peaceful lines, while another’s might be frenetic and bold.

Underlayers to a recent mixed media commission piece include silver point, graphite, conte crayons, and neocolour II crayons.
Marks on the page are a declaration of an inner world and are meant to communicate a deeper level beyond “this is a picture of a _________” (fill in the blank). Artists hope that their mark is not just a smirch on the exterior world but a communication that resonates with the experiences of others. Maybe even a conveyance calling us to recognize something beyond the mundane of our daily lives. Instead of a defacement, an artist’s marks are a declaration.
Check out my current 5 favourite mark making tools below:

My silverpoint drawing tool and some of the marks it makes.
My number one surprise favourite right now is a Silverpoint drawing tool. Mine is one I’ve had since University art classes many years ago, but I’ve recently dug it out and found it to be one of my favourite mixed media tools. It’s a soft and delicate colour which is perfect for sketching in lines before committing to darker tones. It also functions to scrape through thicker layers of paint which allows under layers to peak through.
(Aside: metalpoint drawing is a technique from before lead and graphite were used. We’re talking the 1400s in Europe. There are many things to learn about this technique and if you’re interested, check out Anita Chowdry’s post: Getting Started with Silverpoint and Silverpointweb.com for supplies. You are supposed to have a specific drawing ground for metalpoint drawing, but I have found regular acrylic gesso works fine for my mixed media art work. )

Here are some coloured Conte Crayons, but the classics are black, white, and sepias.
2. Favourite tool number two: Conte Crayons.
Conte crayons are natural pigments pressed into a square shape using a wax or clay base. I like them better than chalk pastels because they are harder and leave a more solid mark. They are also easier to blend and can be used for drawing, underpainting, or to create an entire painterly picture. They adhere nicely to whatever acrylic or drawing media I am using in a mixed media piece. Most Conte sets are natural colours, but they also come in a wide variety of bright colours which I love. Living in British Columbia, Canada, Opus Art Supplies is my favourite place to buy Conte crayons.

Some very old and brand new Neocolour II aquarelle crayons.
3. Favourite marking making tool number three: Caran D’Ache Neocolour II water colour crayons.
I borrowed some of these eons ago from my highschool art class and never gave them back (sorry Mrs. Sunday). These crayons make beautiful lines of saturated colour. You can go over the marks with water and a brush to bleed the edges or you can dip them in water and draw directly with them wet. I love bright colours and these are stunning. Again, Opus is my favourite place to buy these crayons.

The classic graphite in 3 different thicknesses.
4.Tool number 4 is graphite. There are many different fancy forms of graphite but you can also just pick up a mechanical pencil to make some interesting drawings. I love the 3 options pictured for the range from bold grainy lines to the thinest of feathery marks. Graphite will soften with water and blend with gesso. Again, Opus has a wide range of graphite tools to explore or just open your junk drawer and grab a pencil.

5. And finally, lest you think that you need a generous budget to make art, my fourth favourite mark making tool can be found in your own backyard for free. Many artists including myself love to collect sticks and branches, dried grasses, seed pods, and other natural items to use in their work. In lieu of an expensive brush, grab a handful of dried grass, dip it in some ink or paint and pull it across the page. You can get fancier and tie bundles together into your own makeshift brush. The marks made by these imperfect tools lend a freedom and spontaneity to your work.
Hoping this post helps expand your joy in viewing and making art.
Sara
I’m currently putting together a series of creative workshops so be sure to subscribe below so you don’t miss all the necessary details.
To see some of my current art work based on mark making, check out the New Work page on my website and follow me on instagram @sara.wiens for an upcoming sale of some mini artworks from the “Stitched Together” series.